 Actually Drawing:
enough setup! let's get to the fun part!
so what i usually do first is a rough sketch, to test out a few different ideas before i settle on what i'm lining.
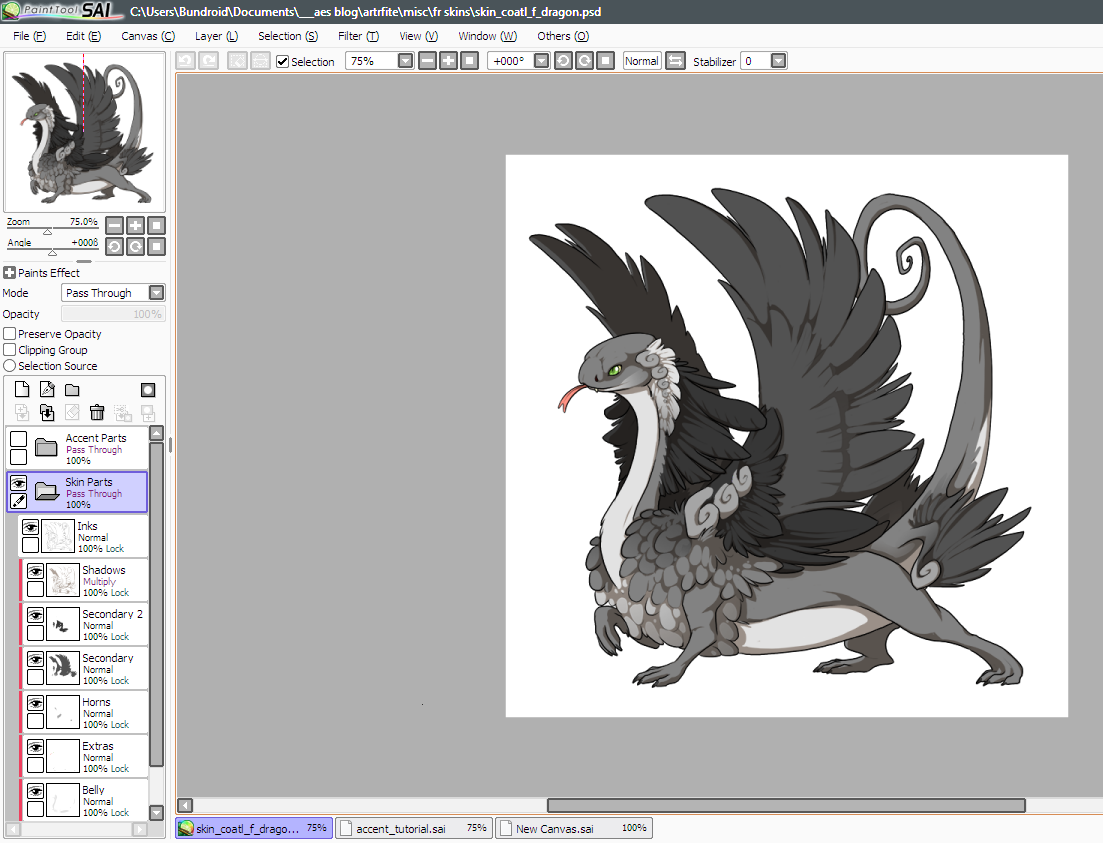
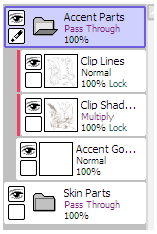
we'll make two layers, above both folders:
1) a layer filled completely with white, set at 50% opacity. i've named mine White to stay organised, this just helps you see what you're doing! you can skip this if you prefer.
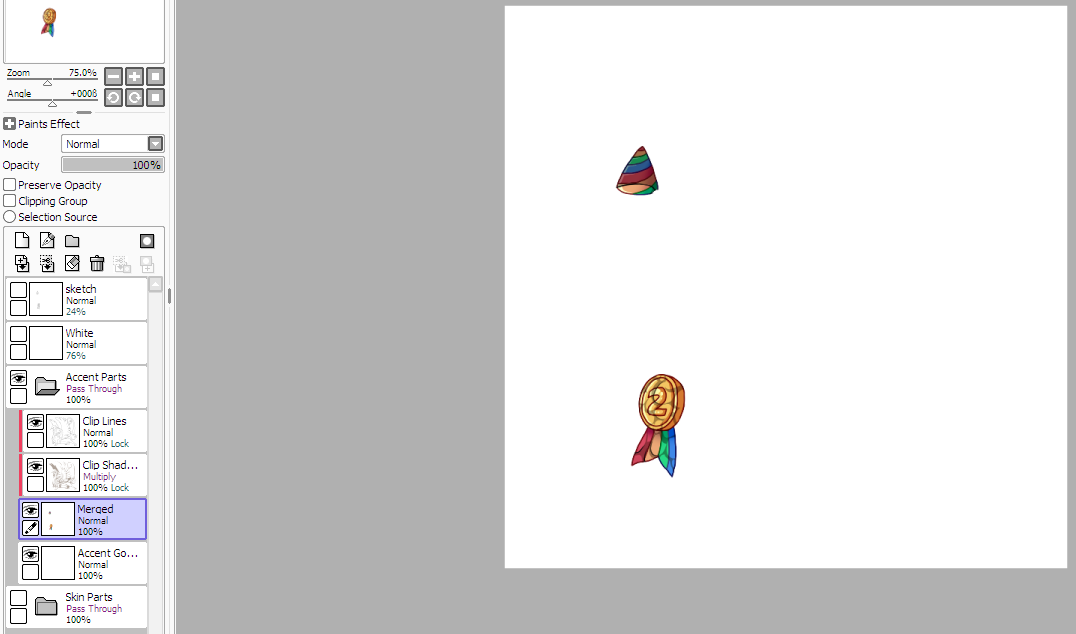
2) a layer above the white layer for you to sketch on. i've named it Sketch here for more organisation but it doesn't really matter.
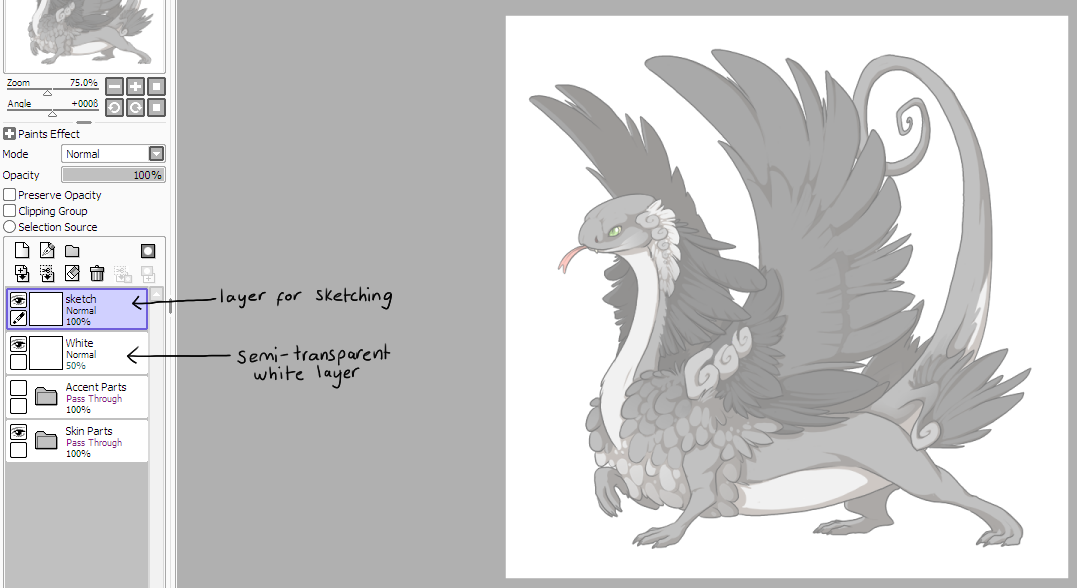
here's when you start flexing your creative muscles! if you already have an idea in mind: go for it! sketch until you're happy and move on to the next step.
if you're unsure of what exactly you want to make, just draw until something clicks! here are a few things to think about when designing your custom:
- do you want to make a skin or an accent? skins cover more than 30% of the dragon, and are more expensive to produce. accents are cheaper and a good way to enter the market, if you're wanting to sell them.
- will your idea fit within the lines?
- do you want to appeal to a market, or are you making the custom for yourself? if you're aiming to sell it, don't feel too restricted by current trends, but definitely take a peek to see what's selling the most!
but in the end, have fun and draw what you like!
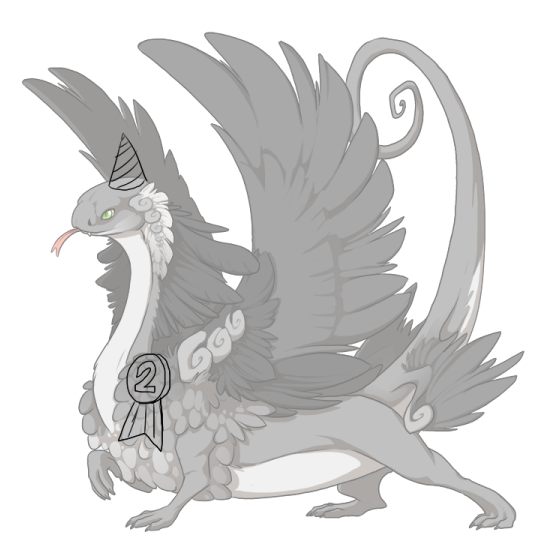
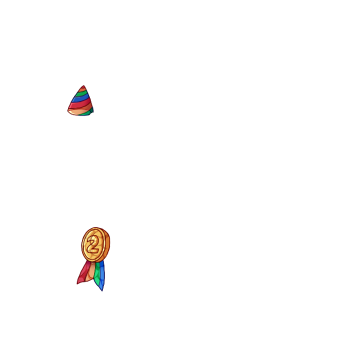
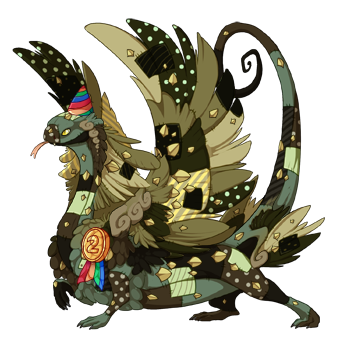
for this example, i've decided to give our coatl here a cute birthday ribbon and hat! i'm not entirely sure why, but the creative process works in mysterious ways.
next let's move these layers around a bit!
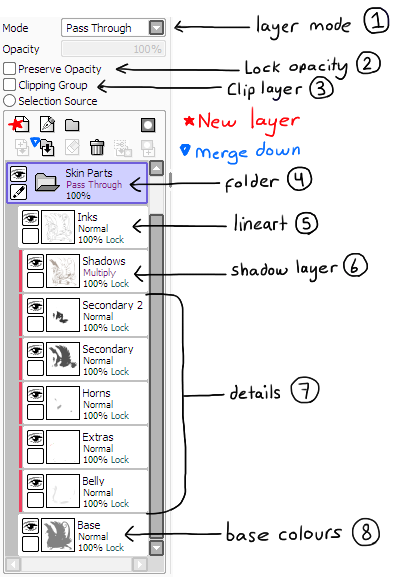
- move the White layer and your Sketch layer into the Skin Parts folder, above the Inks/lineart.
- set your sketch to a lower opacity, so you can see what you're doing when you draw over it. you can also turn the opacity of the White layer up if you're struggling to see your lines.
- create a new layer above the others for you to draw your clean lineart onto. i've called mine MyLines to differentiate it from the Inks/lineart layer!
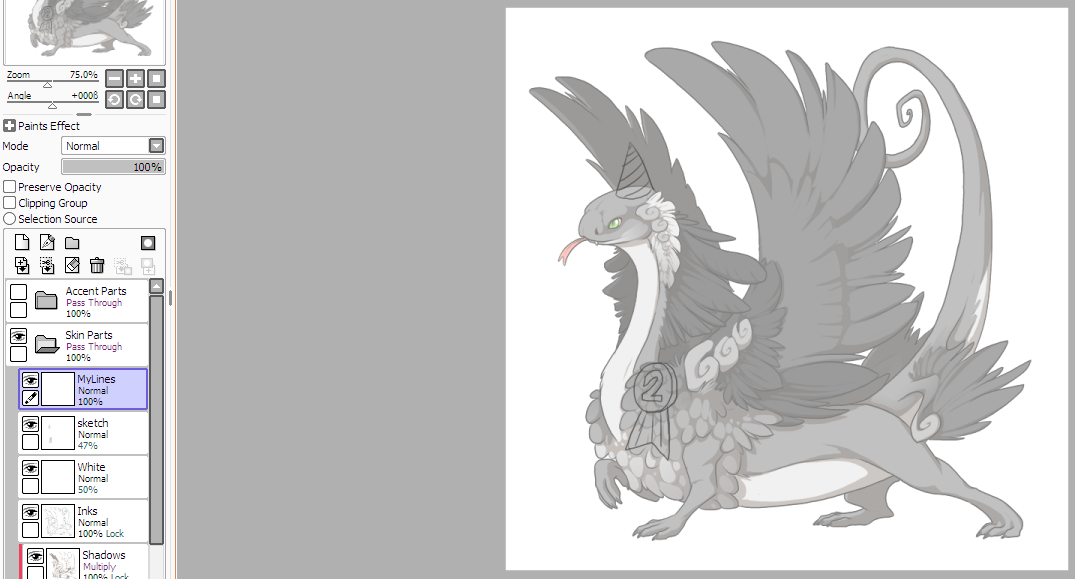
i personally prefer using a small, thin brush for lining, to try and match the style of the base, but how you line it is up to you! you want graceful wispy lineart? chunky cartoony lines? the world's your oyster! keep in mind, though, that teeny tiny details might get lost when you shrink the canvas down later, so make sure the important stuff isn't too small!
Colouring:
once the clean lineart is done, it's time to colour it! we'll make a new layer underneath it, i'll refer to this as the BlockColour layer, we'll be using it to fill the base colours of our accent.
(also at this point you can hide or delete your sketch layer, unless there's still details on it you want to add later.)
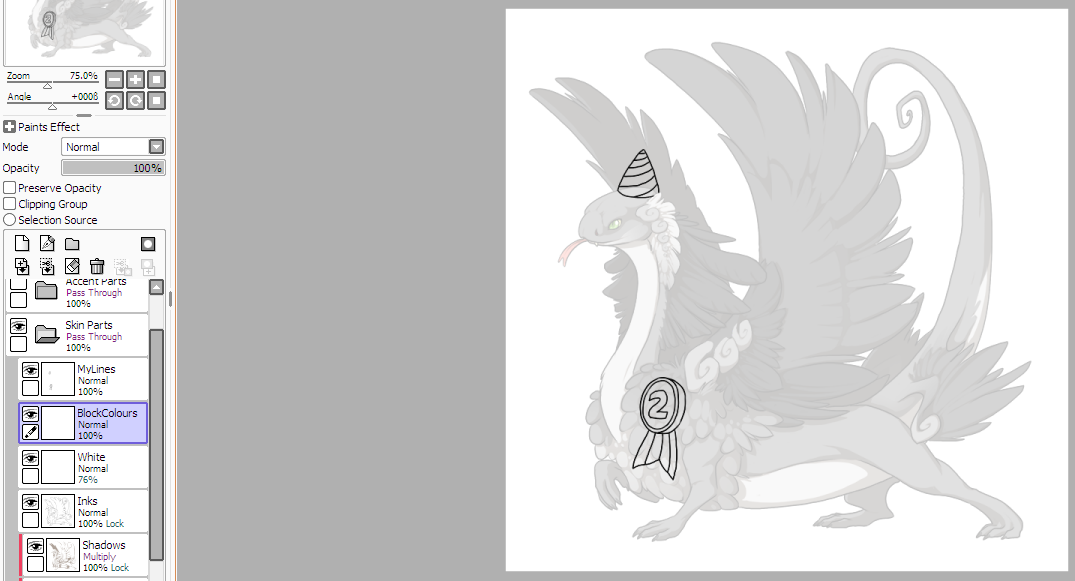
we'll start colouring on the BlockColour layer by hand.
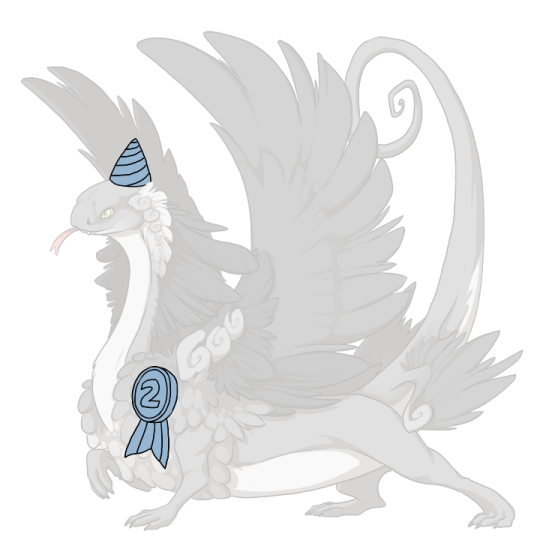
the base colour you use doesn't really matter, just anything that'll stand out from the dragon base beneath it!
don't worry about accidentally colouring over the lineart for details that disappear behind wings or arms (like the hat here, going behind the coatl's headfeathers), we can clean that up in a few steps! and we'll also make sure the obscured lineart is visible by the end!
next we'll want to start adding our actual colours in. make a new layer above your BlockColours layer, and set it as a clipping layer. (i've named this layer 'colouring', but honestly these names are just so my screenshots make more sense!)
this should be your set up so far:
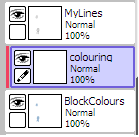
you can make as many colouring layers as you want, and they'll all clip onto the BlockColour layer to stay nice and neat. it's good to keep different colours, or different sections, on different layers, as it's much easier to recolour the accent later! (which is especially useful if your skin gets turned down for being too dark / too gory.)
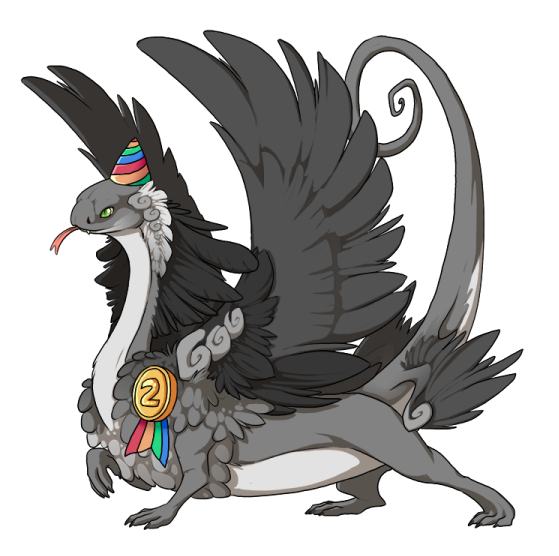
i ended up using a few colouring layers so i could add some shading, but the colouring's done! we're halfway there!
this is looking good so far, but my lineart is just black right now, which is a little plain for me. whether you want to colour your lineart is up to you (it can look nice either way!) but i'll be colouring mine for the aesthetics!
to colour it in, you can either lock your lineart layer's transparency and colour directly onto it, or you can make a clipping layer above it. dark, saturated colours are usually a safe bet for the lineart, but art is subjective! go ham!
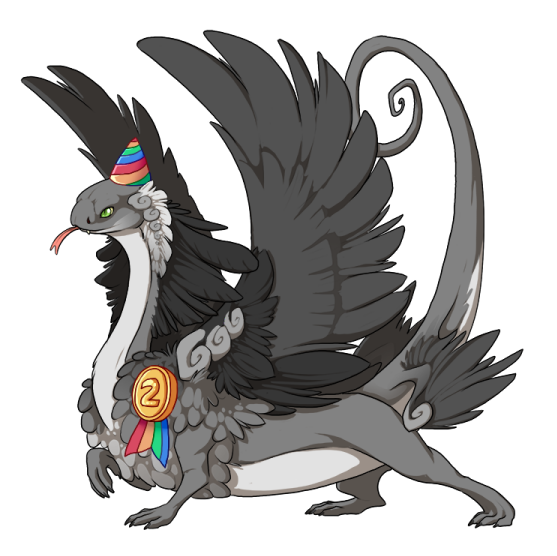
looking snazzy! but as nice as this looks right now, it's not following the rules just yet! it's obscuring the lineart and shadows of the dragon underneath it, so let's fix that up real quick.
quickly tidying up:
before we can fix the lineart we have a dilemma: we want to clip our layers to the main dragon base, but we already have layers clipping onto each other right now. (if you coloured your accent's block colours without using clipping layers, feel free to skip ahead!)
layers can only clip onto one thing at a time, so moving them to the main base will probably end up looking something like this:
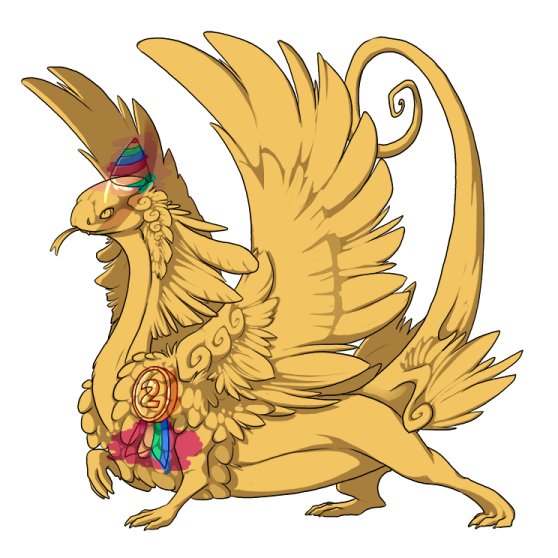
not really the effect i was going for, the whole point of clipping my colouring layers in the first place was so you couldn't see how messy my colouring is! let's move them back out again, and clean them up a bit first.
you have two options on how to do this:
option one: merge all your clipped colouring layers down onto the block colour layer they're clipped to.
- this is the easier, quicker option! if the other option seems a bit overwhelming, just stick to merging!
- this will possibly make recolouring harder, if that's something you'd want to do later!
option two: erase all the parts of the colouring layer that are going outside the block colour layer
- unclip all of your colouring layers (and don't worry if it's super messy!)
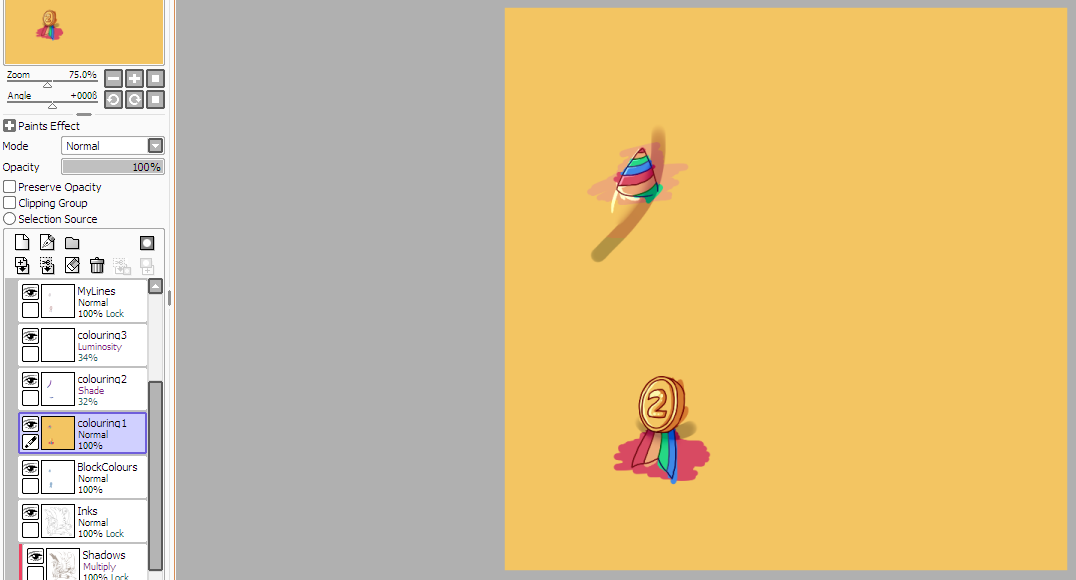
- select the contents of the BlockColours layer by ctrl+left clicking* the layer's thumbnail.
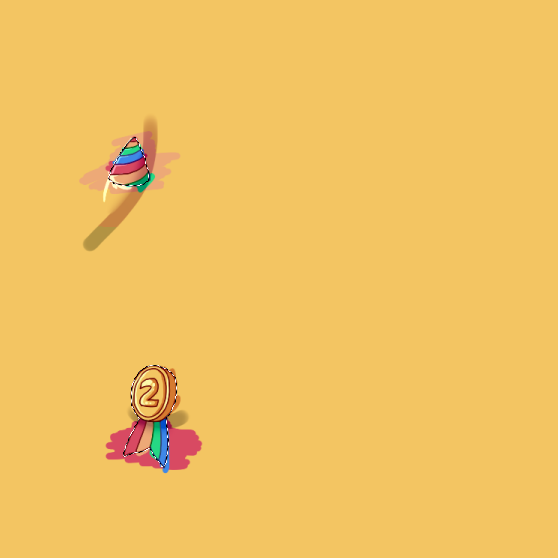
* as of now, i'm not sure what the phone equivalent of this is. if anyone uses mobile and knows how to select the contents of a layer, please let me know!
* if you're working on mac, you can use cmd+left click here!
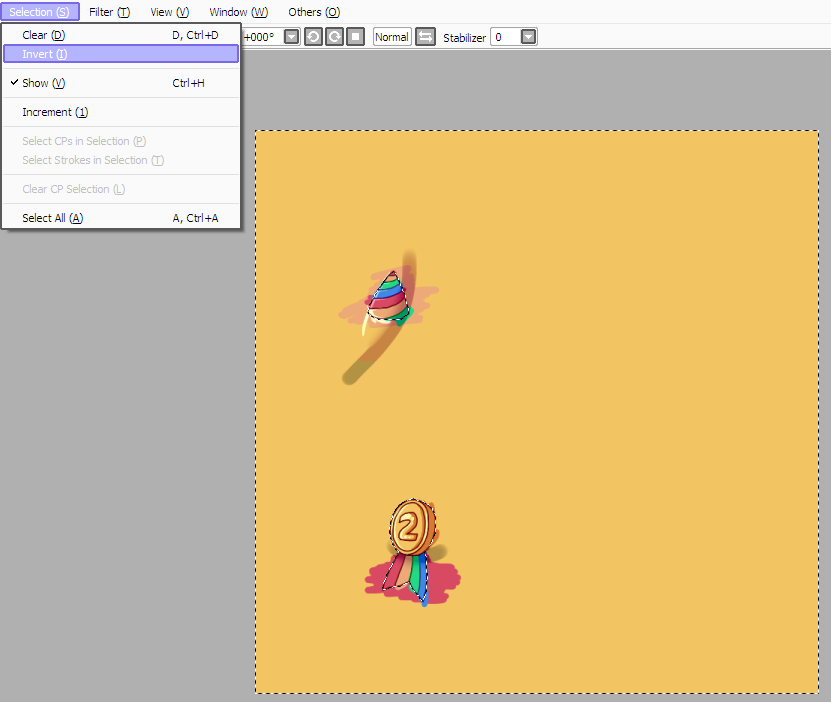
- hover over 'select' or 'selection' on the top of your screen (next to where you find File, Edit, etc) and click 'invert' or 'inverse selection'.
- make sure you're clicked onto one of your colouring layers, and erase everything you have selected. you can do this with an eraser pen, clearing the layer, or by pressing ctrl+X.
- make sure to repeat this step if you made more than one colouring layer! it should be nice and neat by the end of it!
i'm not fussed about recolouring it later, so i'll just merge all the layers together.
onto the next step!
Unobscuring the Base Lineart:
for a skin to be submitted, we need to be able to see the dragon's base lineart and shadows through it.
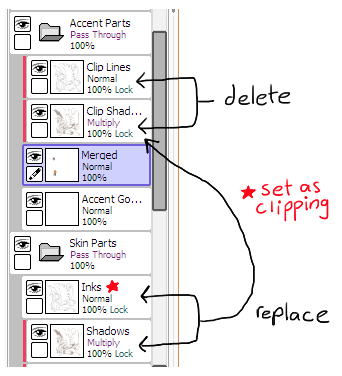
we've been working on top of them so far, but let's move all our layers underneath the Shadows layer!
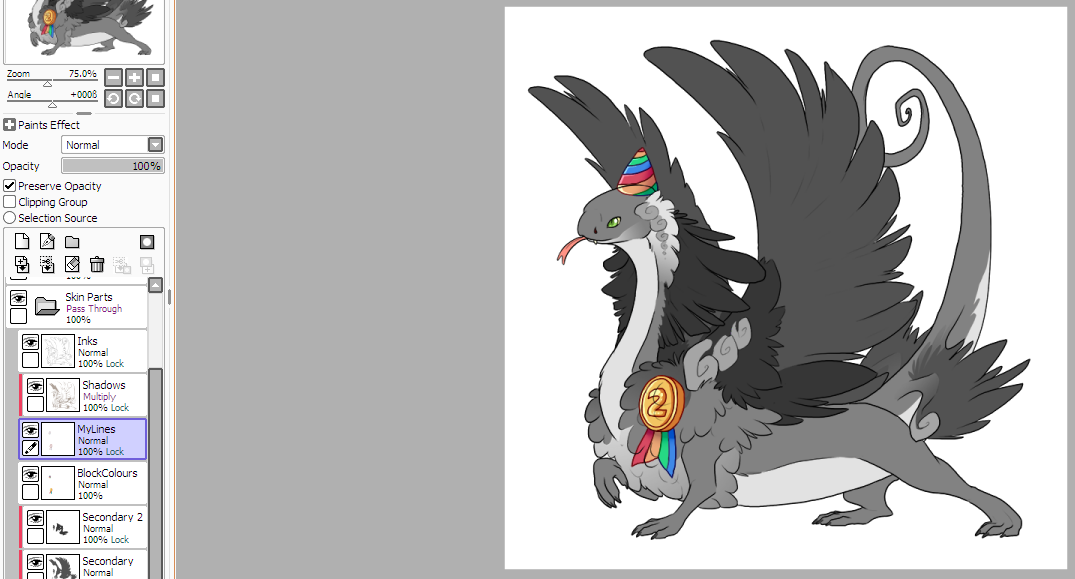
well that's not right, we need to set our Lines and BlockColour layers as clipping layers! they should clip onto the Base layer at the very bottom.
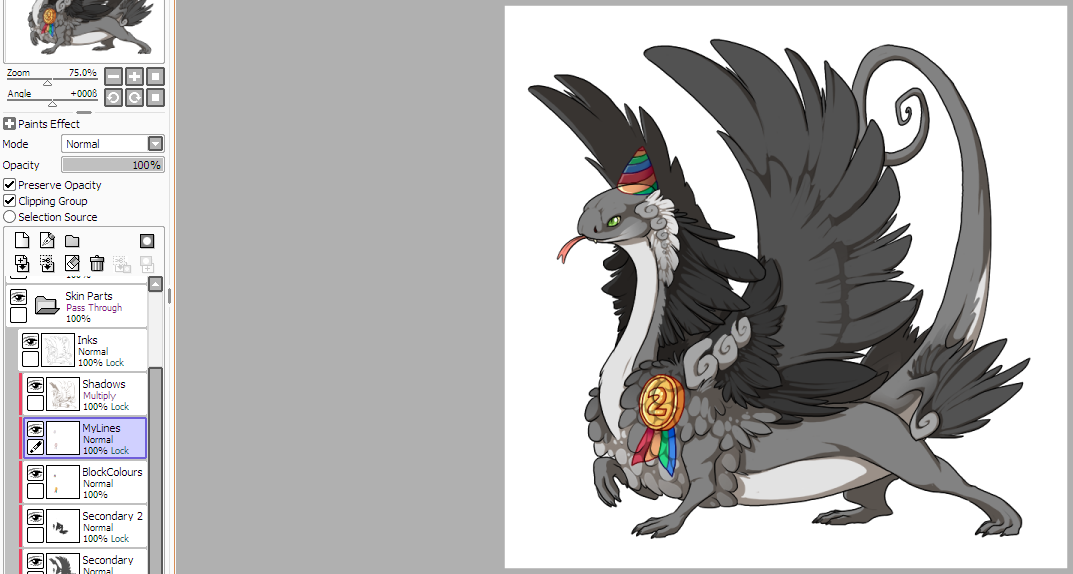
much better! ...except, not really, the colours are all muddy now! the default lineart is black, and the default shadows are a lovely shade of off-beige - this can really damage the aesthetics of a pretty skin, so we're going to recolour them!
the Inks/Lineart and Shadows layers are handily locked by default! so you can just colour onto the layers directly to spruce them up.
(remember that the base shadows and lineart has to be visible through your accent! if you colour them to be too light your skin may not be accepted onto the site, but don't be too scared of using light colours! even experienced accent artists occasionally get turned down for their shadows, you just have to tweak it and try again!)
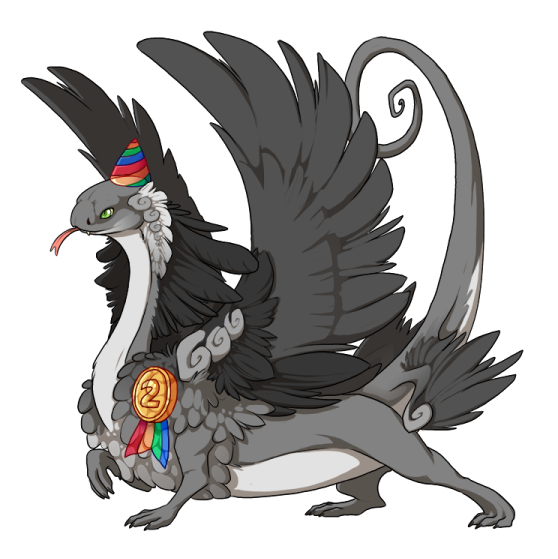
it's looking much less muddy! there are probably areas where i could get away with making the shadows even lighter, but we'll leave it as it is here.
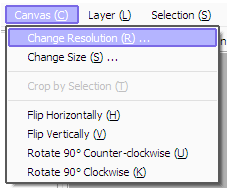
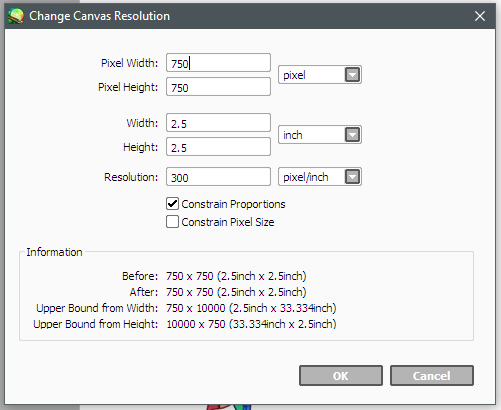
good news though, we're nearly done! next step is shuffling the layers around one more time, resizing the canvas, and exporting it as a PNG!
